Your Cart is Empty
Luggage
Apparel
events
The Mosko Blog
Box of Bags
March 30, 2022
Box of Bags
December 13, 2013
Our box of bags is off to the factory, complete with patterns, part lists, colorways, and prototypes. Shipping cost $320: ouch. The UPS lady looked at me like i was nuts for buying $2,000 of insurance on two bags. But hey, that was a lot of work.
We made one last revision before sending: adding a layer of hypalon behind the wedge to protect the bag from abrasion. Our prototypes were already showing wear in that area from test rides. So we traced the wedge on hypalon and made a quick last-minute pattern for the factory.
The Wedge
Over the last few weeks of testing we accumulated a long list of wedge revisions. Some key changes:
- Made it longer to accommodate more rack sizes (so far we’ve tested it on hepco becker, happy trails, and wolfman).
- Tightened the tolerance for a tighter fit.
- Removed some material to reduce weight.
The changes were delivered to Hein, who will model and machine our next round of prototypes hopefully next week.
Wedge Attachment
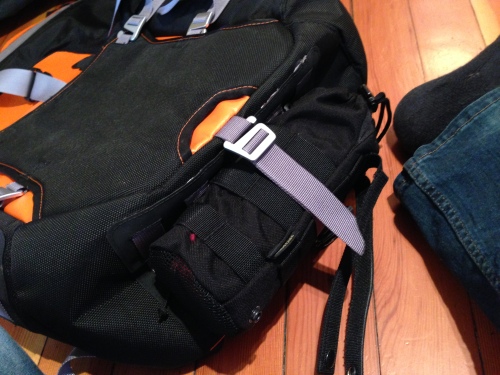
For the attachment system, we received a whole bunch of new buckles in the mail this week and we have two favorites.
1) the rubber “jeep-hood-style” latch: we like the simplicity, one-step closure, and lack of any moving parts to get gummed up by sand or mud.
2) stainless twist-style draw latch: it’s bomber, low profile, and has a nice draw feature which tightens the wedge firmly into the frame. However we’re concerned about how well it will work when dirty.
Molle System
We want the option of storing tools/tubes, extra fuel, and water all on the outside of the pannier. We like having quick access to these items, and we don’t necessarily want them packed in the same dry bag as our sleeping kit and clothes.
For fuel, we’re developing a bottle holder that can either a) be attached on its own or b) be attached to a second bottle holder and the pair attached together. Something like this (shown with one bottle):
For water, we want a pouch that can either a) hold a standard hydration bladder or b) be used as a stand-alone removable pocket. We took a tactical molle hydration pouch/bladder combo we bought online and cut them down to a 2l size. With 2l on each pannier, 2l on the duffle, and 2l in a hydration pack the rider could hypothetically carry up to two gallons of water spread evenly over the bike. That’s enough for two consecutive nights of unsupported camping.
The hydration pouch and fuel holders will attach to the molle panels using molle sticks, as shown below. More on molle sticks here (http://www.youtube.com/watch?v=W3hvU6yueXQ).
Tools/tubes would go in the built-in external pocket (which also fits fuel bottles or a hydration bladder if needed. or a six pack). Here’s what the pannier looks like packed with water, gas, clothes, and tools.
Rackless Pannier/Duffle
With the pannier and duffle off to the factory we’ll finally have more time to focus on our rackless option over the next few weeks. This week we had a little time to work on sketches between other projects. We’re still leaning toward the idea of a harness system for drybags. Next step: patterns and protos.
Apparel
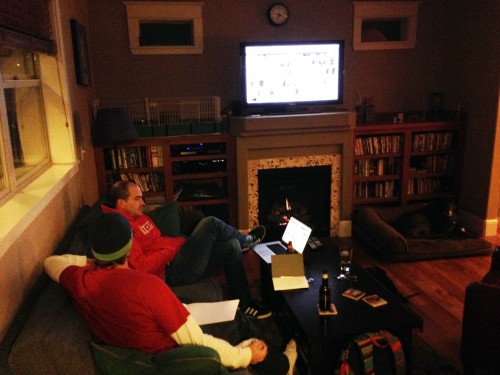
We met with Galen to make some revisions to last week’s line drawings. Galen has Apple TV, so we can hang out in his living room and design on his flat screen TV, which is sweet.
We’re looking to our favorite outdoor brands (like Arc’ Teryx and Patagonia) for inspiration.
We like these fancy waterpoof zippers, like the Aquaguard from YKK (http://www.ykkfastening.com/products/zipper/vislon_zipper/aquaguard_vislon.html). These don’t require a wind flap and they have better longevity than typical sealed zippers.
I learned what a “zipper garage” is.
Also learned the difference between a raglan (http://en.wikipedia.org/wiki/Raglan_sleeve) and a set-in sleeve (http://www.wisegeek.com/what-is-a-set-in-sleeve.htm). We like set-in.
Apparel design is a lot different from bags. It’s frustrating not to touch, feel, and sew in real-time. I picture us spending a lot of time in a factory sample room next year. Galen knows a good factory in Vietnam, so we’ll reach out to them as soon as these high-level line drawings are done.
Leave a comment
Comments will be approved before showing up.
Warranty and Crash Replacement
We never cut corners during development or manufacturing, so we stand behind our products. If one fails due to a problem with materials or workmanship, we’ll make it right.
Your are successfully subscribed for email notifications.
Notify me when available
We will send you a notification as soon as this product is available again.
Your email is required
We don't share your email with anybody
x

