Your Cart is Empty
Luggage
Apparel
events
The Mosko Blog
Laser Beams & Stuff
March 30, 2022
Laser Beams & Stuff
December 20, 2013
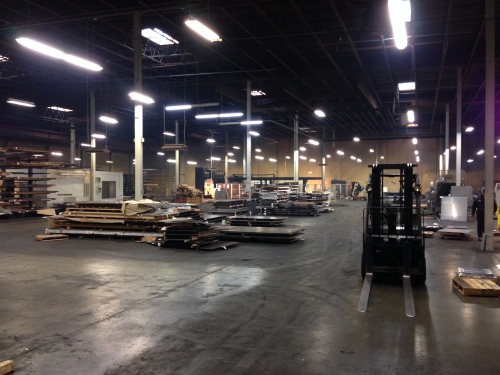
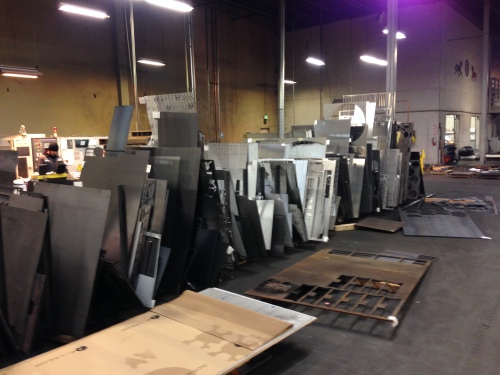
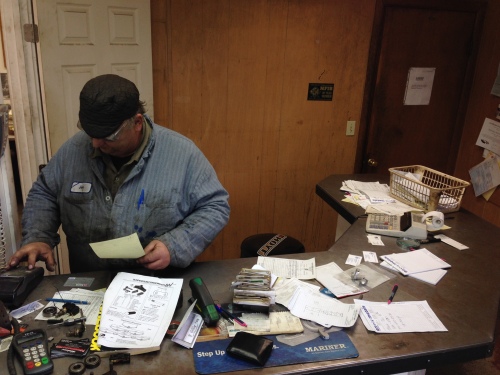
The week started off with a visit to a laser cutting company in Portland to pick up our prototypes of the wedge-mount system. Our design calls for 1/2″ aluminum, but unfortunately they can only laser cut up to 3/8″, so the prototypes are slightly smaller than the final product. Still, it’s good enough to test the profile on a variety of different rack shapes and sizes. We don’t expect to use laser cutting in production, but it’s the easiest and fastest way to get a small run of only 4 pieces. Debbie, our sales rep, was nice enough to provide a tour of the facility and let us take some pics.
It was pretty cool to see what they can do with laser cutting. They made these beer taps:
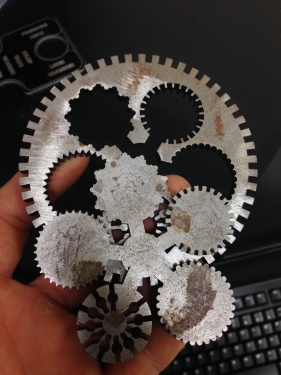
And this really intricate piece, whatever it is:
Our 4 little parts seems pretty simple by comparison
As soon as we got back to Hood River we ran around town to try them out on all our friends’ bikes to test the fit.
Hepco Becker: Check
Wolfman: Check
Andy Strapz: Check
Happy Trails: problem
We didn’t account for the powder-coating on Happy Trails racks, which adds some width. A few strokes with a file was enough to fix the problem. We’ll widen the design on our next round of protos.
Once we knew they’d fit, we headed up to Schlosser Machine in Hood River to have them drilled and tapped.
The finished product works great. Cost may be a concern: these 4 little prototypes cost us over $100 to make between laser cutting and drilling/tapping. Even the 1,000 piece quote we requested was pretty high considering that 8 of these parts would be included with every pannier set. For a real production quote, we need to decide whether the finished product will be machined, water-cut, laser-cut, or extruded. We also need to decide whether to use aluminium or stainless steel. As with everything on this project so far, at this stage we’re designing for the best possible product without making any compromises for cost. The cost part we’ll figure out later. For now, we’re just happy to have a part that works.
Molle Attachments
With Chip taking a few weeks off, I decided to take a shot at making a bottle holder prototype myself. I received a sewing machine as a gift a few years ago but so far I’ve only used it for small fabric repairs. I’ve learned a lot by watching Chip over the last few months and I wanted to try it out. Once I figured out how to thread the machine I really enjoyed it. It’s kind of like welding… but with fabric.
First I laid out the top of the holder in ripstop material and made a channel for the drawstring:
Then I sewed the ripstop to the body material (a cordura-type material), laid out the 1″ molle webbing, and sewed it on in 1.5″ increments:
Then I pinned the bottom to the body and sewed it around in a circle, which was kind of tricky:
My first-ever start-to-finish sewing project. This will give us something to take up to Chip’s next week to have a real prototype made.
Next, we wanted to do a mockup of our hydration pouch. We debated whether to design around a) a “standard” hydration bladder or b) our “favorite” hydration bladder, which is the MSR Dromedary. I’ve been using dromedaries for moto camping for 3-4 years and I really like them. They’re so durable that I throw them right in my panniers without worrying about leaks. In camp, I hang them off the handlebars and use the flip-open nozzle like a spigot for washing, cooking, etc. They also sell a shower attachment and a hydration hose attachment. However, if we make the hydration pouch from a ballistic nylon then the dromedary might be kind of overkill. Also it’s a weird shape. Plus pretty much everyone already has a standard bladder whereas only a few people actually have dromedaries. Right now we’re leaning toward accommodating both systems. We can “suggest” the MSR dromedary but design a pouch that works for either.
The MSR dromedary
Three-way nozzle
A flap opening in our hydration pouch for the nozzle. So the rider can refill a hydration pack or get water for cooking/cleaning without having to remove the water from the pannier.
We want the same molle hydration pouch to work on both the pannier and duffle. On the duffle, it could potentially replace a hydration backpack. The rider can tuck the hose into the beavertail and reach back for it when needed.
Moto Apparel
Galen has been working on the apparel concepts. We decided to go with a more athletic fit and dramatically reduce the number of seams, fabric blocks, and pockets versus the other jackets we’ve seen.
- For abrasion resistance, we’re looking at materials which have an added layer of composite. Like superfabric. http://superfabric.com/performance#abrasion
- For Waterproof/ Breathability, we’re looking at things like toray (http://www.torayentrant.com/), eVent (http://eventfabrics.com/), and of course gore (http://www.gore-tex.com/remote/Satellite/home)
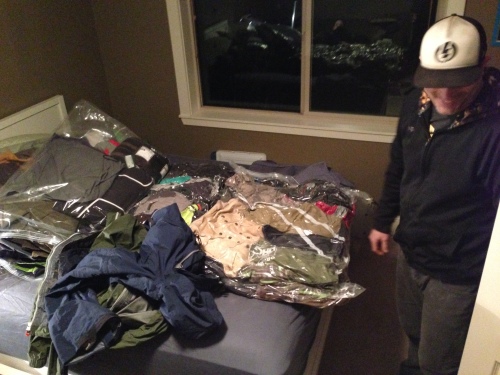
Galen knows how to make patterns and sew, in addition to designing on the computer. So we discussed the possibility of mocking up some initial prototypes here in the states, similar to what we’ve been doing with bags. He has designed a huge number of jackets in his career and he has a big library of past designs stored away in vacuum sealed bags which we can reference as needed for fabrics, hardware, and features.
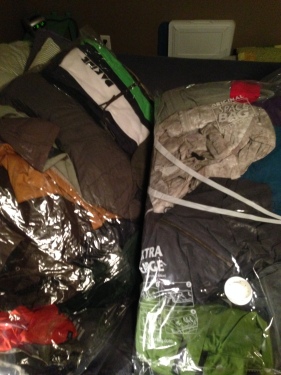
There are literally hundreds of jackets in these bags:
One of the first jackets Galen designed and sewed in school:
Now that we’re feeling pretty good about the high-level line drawings, Galen is going to flush out more of the internal features and we’ll begin working on specs and fabrics. Lots more to come on that front.
Leave a comment
Comments will be approved before showing up.
Warranty and Crash Replacement
We never cut corners during development or manufacturing, so we stand behind our products. If one fails due to a problem with materials or workmanship, we’ll make it right.
Your are successfully subscribed for email notifications.
Notify me when available
We will send you a notification as soon as this product is available again.
Your email is required
We don't share your email with anybody
x

