Your Cart is Empty


The Mosko Blog
Snow Place Like Home
March 30, 2022
Snow Place Like Home
December 6, 2013
Here’s what it looks like at my house this morning. Anybody in the Gorge have a heated shop we could use for the next few months? Will trade moto luggage for heat.

Production Patterns
Our primary goal this week is to get our prototypes and patterns off to the factory. First we made a new set of prototypes, which were near duplicates of the ones we tested last week except that we replaced the d-rings with daisy chains. Next we worked with Chip to tweak some problem areas in our patterns for production. Chip uses a plastic-bag-type material to test the way the seams join and make sure everything comes together smoothly.

When the pattern tweaks were complete, we traced our paper patterns onto mylar material and drew out all the features (like webbing, buckles, etc) so the factory can see where they will go. We used pins to hold down the patterns and ensure all the seams and webbing placements connect.

Here’s what the pannier pattern package looks like:


Wedge Attachment System
Next we moved on to the attachment system for the wedge. We had a number of ideas that we wanted to test.
First we experimented with some ski boot and snowboard bindings which we pilfered from old gear.


Then we routed out a spot for a ladder strap to mount:


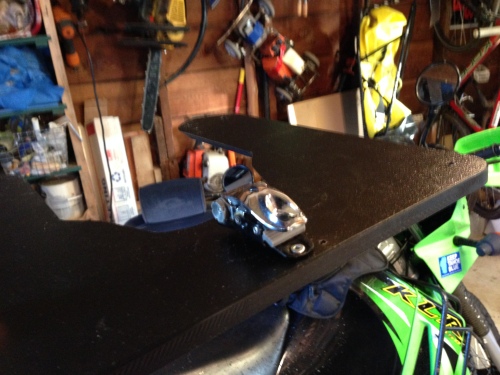

This system worked ok, but there was not enough clearance behind the pannier rack to properly operate a ratchet, at least not the one we were using. Plus the process of getting the ladder inserted into the ratchet was clumsy.
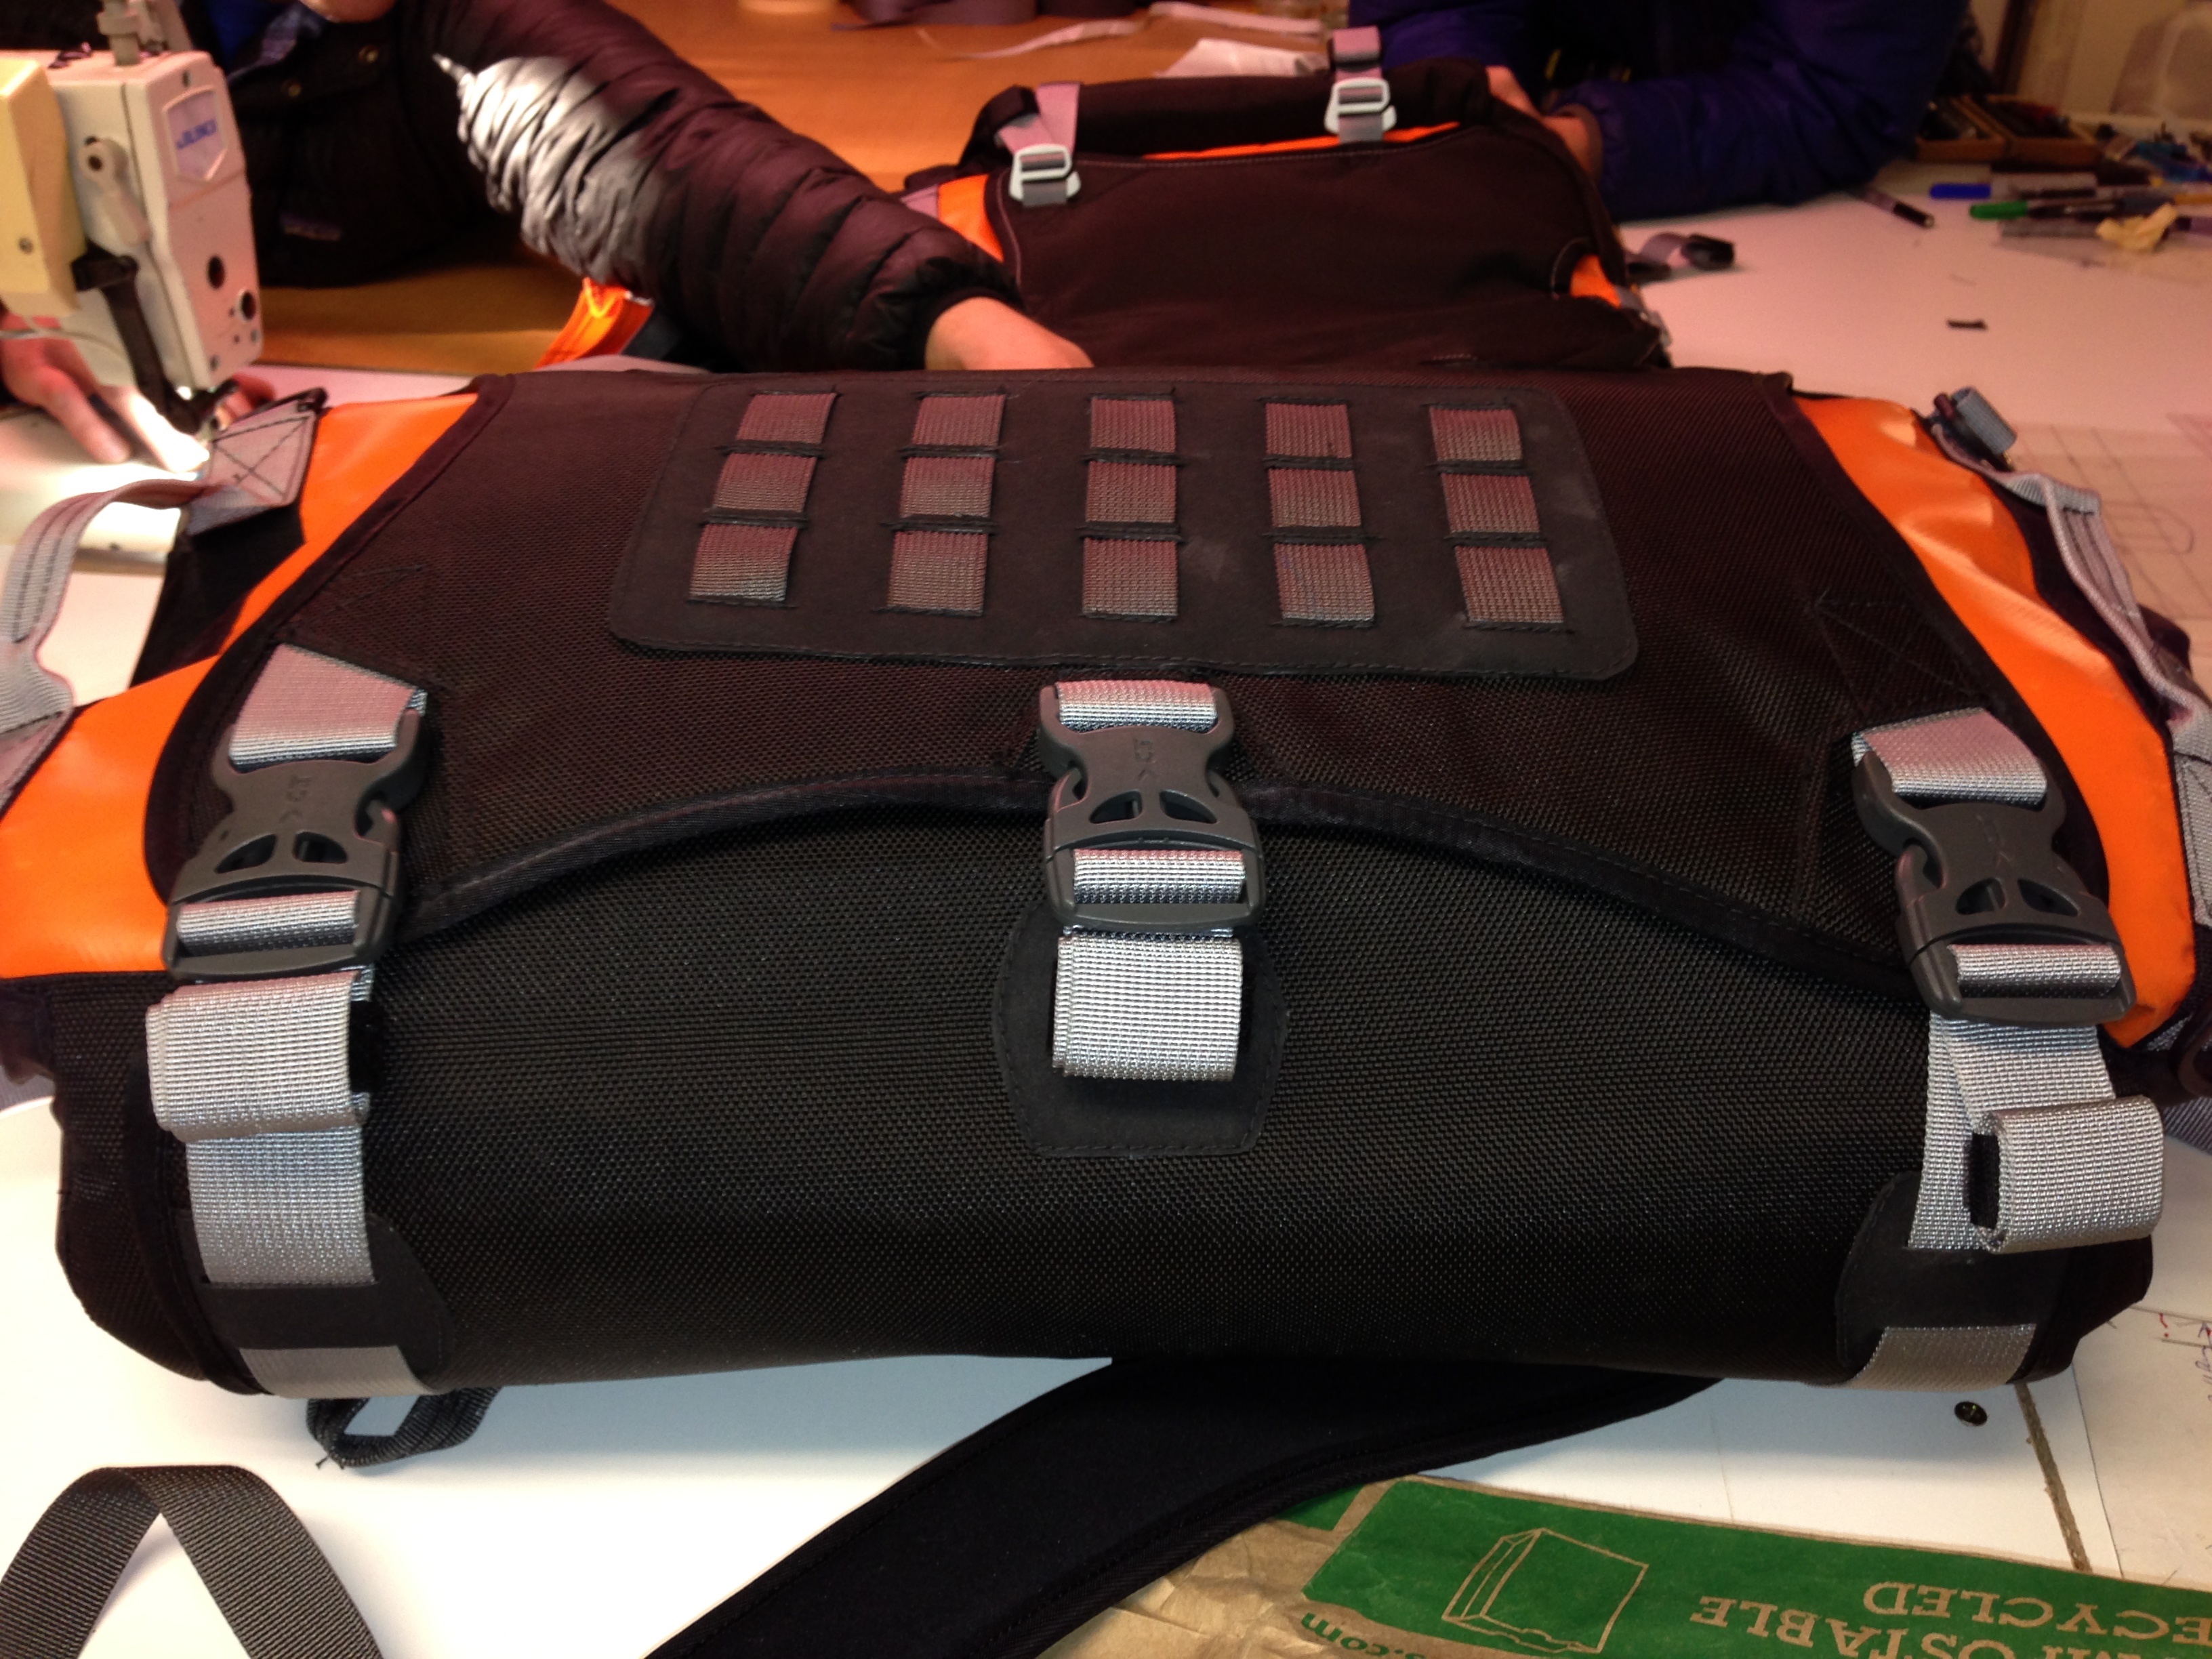
Next we experimented with straps and buckles:


This last photo, with a simple side release buckle, was our favorite system out of the various things we tried. We also ordered a bunch of other latches for testing off the internet. Some examples:
Jeep Hood Latches:


Cooler Latch

Webbing Keepers
Earlier in the development process we looked at several different webbing storage solutions including web dominators, clips, and systems used in outdoor backpacks. We like the idea of a sewn-on keeper, something similar to a web dominator but which doesn’t involve a separate plastic/elastic part. Here’s how it works:
The velcro is sewn onto the end of the strap:

You roll the strap around the velcro until you get to the buckle:


When you reach the buckle, the two pieces of velcro are wrapped around the rolled up strap AND the compression strap itself, holding the excess webbing firmly in place.

You also have the option of not wrapping the velcro around the compression strap and leaving the rolls hanging, like in the photo below. Either way, it’s a lot cleaner than having loose straps flying around in the wind.
While velcro is not a perfect material, it has the advantage that it’s light and handy, and can be easily removed/repaired/replaced at home.
Waterproof Liner Handle
We also added a simple closure & carrying handle to our pannier liner so it can be removed from the pannier to take into a tent or hotel room if the pannier itself is too muddy.

Dualsport Outerwear
Galen finished the first line drawings of our outerwear system. It features 3-layers:
1) a fully waterproof and vented outer shell, and
2) a waterproof liner jacket with a removeable hood, to be used under the shell for heavy/extended downpours, and which also works as a standalone rain jacket to use around camp etc., and
3) a mesh under-jersey which includes an armor suspension system. This would be a more comfortable version of a pressure suit, for longer multi-day trips.
The layering system offers a lot of flexibility for different riding conditions. If it’s hot and raining, wear the jersey with the rain liner/jacket only. If it’s cold and raining, wear the outer shell, the rain liner, and the jersey. If it’s sweltering hot and dry, wear just the jersey with the armor in it. For a day ride, put the armor in the jacket and leave the jersey and rain liner at home. These drawings are just for the jacket/pants, the armored jersey is coming next week.

Leave a comment
Comments will be approved before showing up.
x