Your Cart is Empty
Luggage
Apparel
events
The Mosko Blog
Honduras is Calling
March 30, 2022
Honduras is Calling
January 17, 2014
My “work trip” to Honduras starts Monday. Damn: I’m stoked.
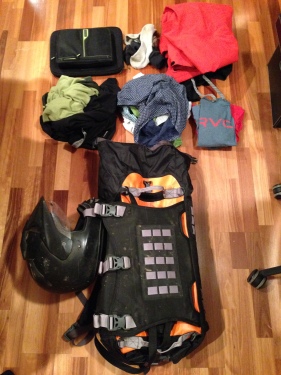
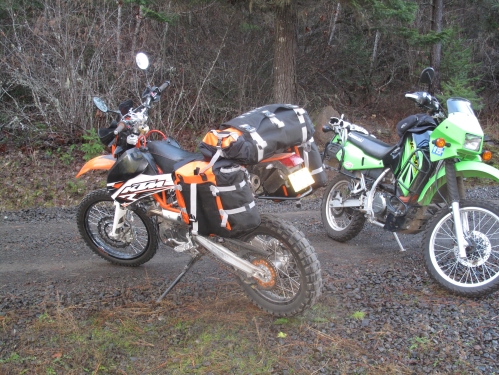
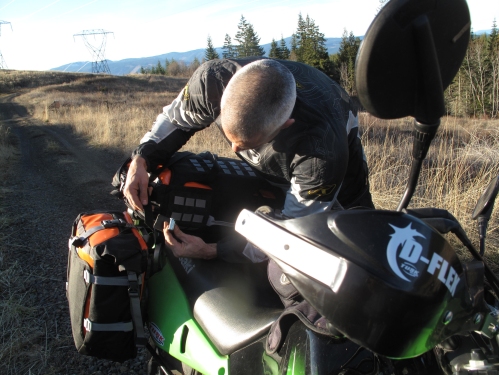
Our top priority this week was to get the new “right side” pannier from Chip, get it mounted, and take the full kit out for a test, packed as it will be for the trip. I want to deal with any obvious issues here in the States, not on the side of a road in Central America.
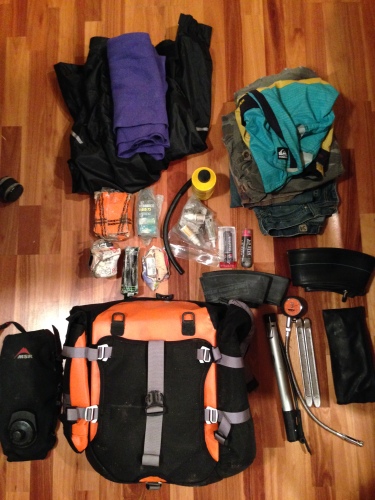
Packing
Left Side Pannier Main: jacket, towel, spare parts/fluids, clothing
Left Side Pannier Pocket: spare front/rear tube, tire irons, patch kit, pump, and gauge. The idea here is keep these stored on the outside so I don’t have to pull all my stuff out of the pannier every time I get a flat. Really pleased with how much stuff the pockets hold.
Left Side Pannier Molle: hydration bladder with MSR dromedary for quick access to water. Good for washing/brushing/etc. I’m also taking a couple bottle holders mounted on the bottom molle panel but Chip is still working on those.
Right Side Pannier Main: shoes, food, sleeping bag, sleeping pad, tent. Note that the right side pannier proto doesn’t have molle panels because we were in a hurry to get it done. We figured that we only need to test the molle on one side (plus the duffle).
Right Side Pannier Pocket: tool roll, tow rope, spare buckle, zip ties
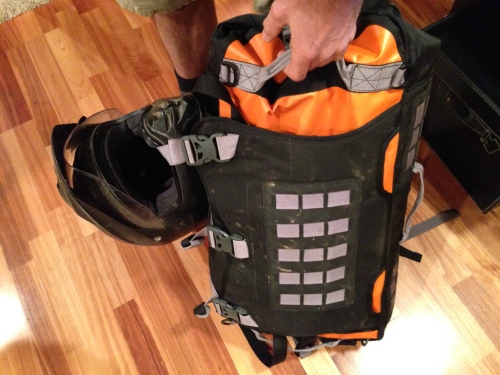
Rear Duffle: clothing and laptop. Love how the helmet clips on the beavertail for carrying. I think the beavertails will come in handy for lots of random stuff like that. I’m taking a hydration bladder on the duffle molle as well, Chip’s still working on that.
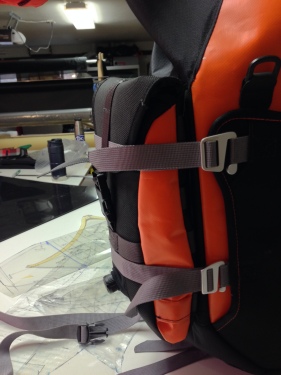
I noticed that the panniers are tough to compress compared to, say, a backpacking pack. This is due to the built-in structure in the bag walls as well as the metal buckles we’re using on the front beavertail. There’s clearly a trade-off between “holding shape” and “easy compression.” Plastic buckles would slide better than aluminum, but they would break too easily in a crash. By putting my knee against the beavertail and pressing in, I was able to make the pannier the exact size I wanted it. Once the pannier was mounted on the bike, the top-down compression via the roll top and top compression strap (which has a plastic buckle) worked great.
Mounting
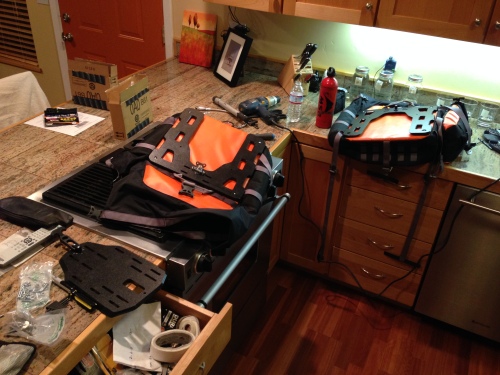
Mounted a HDPE frame on the new right-side pannier proto.
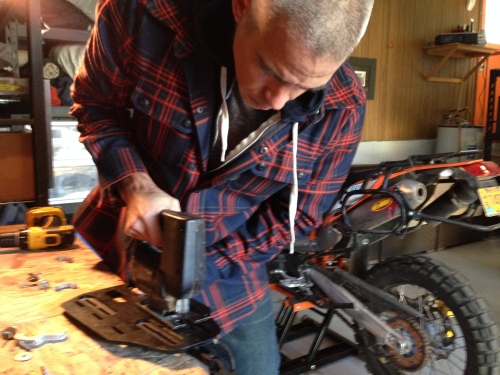
On the Wolfman racks (same racks that are on my bike in Honduras) we noticed that the pannier sits a little higher than we’d like. We’d left some internal supports in the mounting slots on the wedge, but we realized a) these make getting the wedge on/off the bike a pain in the ass and b) they limit the number of possible mounting positions. Removing the supports with a jigsaw enabled us to lower the panniers. We’ll manually rout the mounting slots even lower before I leave, and will change this in our designs as well.
Test Ride
With the bags packed and mounted, we headed out for a ride. Not a bad day in the office.
We switched them onto Andrew’s KLR with Happy Trails racks for a bit.
For our first real test ride with the panniers fully loaded I was really stoked that everything went smoothly. I.e. nothing fell off the bike (haha). I feel good about getting on a plane with these bags on Monday. I wish we could do some kind of “crash test” but I’m finding it hard to crash a perfectly good bike on purpose. The crash tests will have to happen organically.
Molle Hydration Pouch
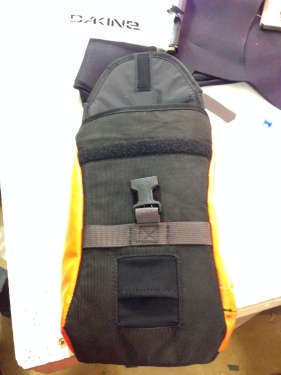
We picked up a first round proto of the molle hydration pouch and I am really digging it. It works exactly how we imagined. It fits snugly on the side of the pannier, under the side compression straps, and can hold either a dromedary or a drinking bladder.
Here it is with a dromedary:
And with a normal drinking bladder:
Rackless Pannier/Duffle
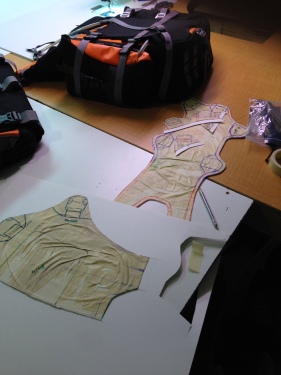
This week we also finished the patterns for our rackless pannier/duffle option. Our concept is a dry bag suspension system, where three welded dry bags are held on the bike with a harness system, and can be easily removed while the harness stays on the bike.
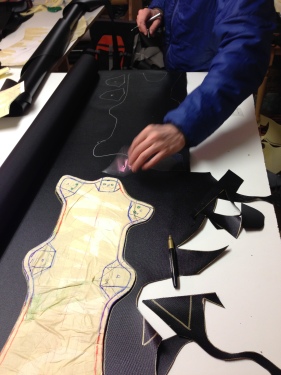
The main body will be ballistic cordura:
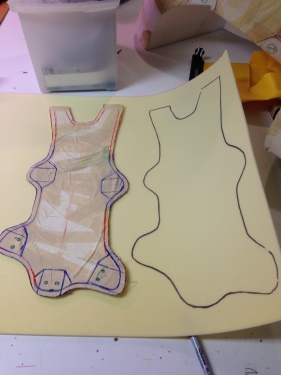
Using foam to give it shape
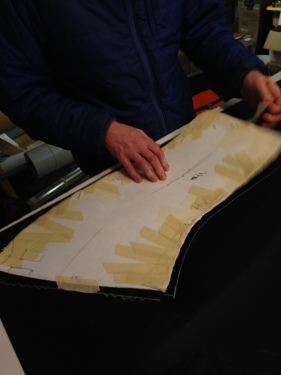
Plus a plastic stiffener for the underside
Man there are a lot of tiny little parts in this design!
Factory Visit
And finally, we headed into Portland to meet with our factory and discuss some specifics of the designs, pricing, order quantities, etc. They were in Portland to visit a certain “large Oregon running shoe company” that they make a lot of bags for. A couple interesting things from the visit:
– We’re headed to Vietnam in late February to see the factory. Can’t wait for that.
– This is their busy season, so we probably won’t see a first round sample until shortly before we head to the factory. However this is OK with us, since we may have some design changes after the test-trip to Honduras.
– For now, we’re going to search for a supplier for the HDPE and aluminum parts here in the US, even though it will be a LOT more expensive.
Steve & Steve from the factory have been a real pleasure to work with. Steve (on the right) grew up in Georgia and did a lot of trail-riding as a kid. We also learned that our project manager at the factory in Vietnam is really into bikes, and rides a cafe racer around HCM City. How cool is that?
Every morning I have been checking the weather in NE Honduras. It has been raining a lot with some major windstorms. That should make for an interesting ride.
Leave a comment
Comments will be approved before showing up.
Warranty and Crash Replacement
We never cut corners during development or manufacturing, so we stand behind our products. If one fails due to a problem with materials or workmanship, we’ll make it right.
Your are successfully subscribed for email notifications.
Notify me when available
We will send you a notification as soon as this product is available again.
Your email is required
We don't share your email with anybody
x

